
How to install OTSManager 24.2 on Windows
This article will show you how to install OTSManager 24.2 on Windows step by step.
Output Transformation Server Manager is a thin client consisting of a number of JSP pages that enable users to connect directly to Output Transformation Server installed onto any of the supported Java Enterprise Edition (Java EE) application servers.
The Output Transformation Server Manager enables a user to do the following:
- Monitor the current server status.
- Monitor jobs that are currently running.
- Stop individual or all current running jobs.
- Modify, run, view, export, and delete projects.
- View license files.
- View individual log files.
Prerequisites
You must complete the following prerequisites before installing OTSManager:
- Install Output Transformation Server 24.2
Recommended reading: How to install Output Transformation Server 24.2 on Windows?
- Install Tomcat 9
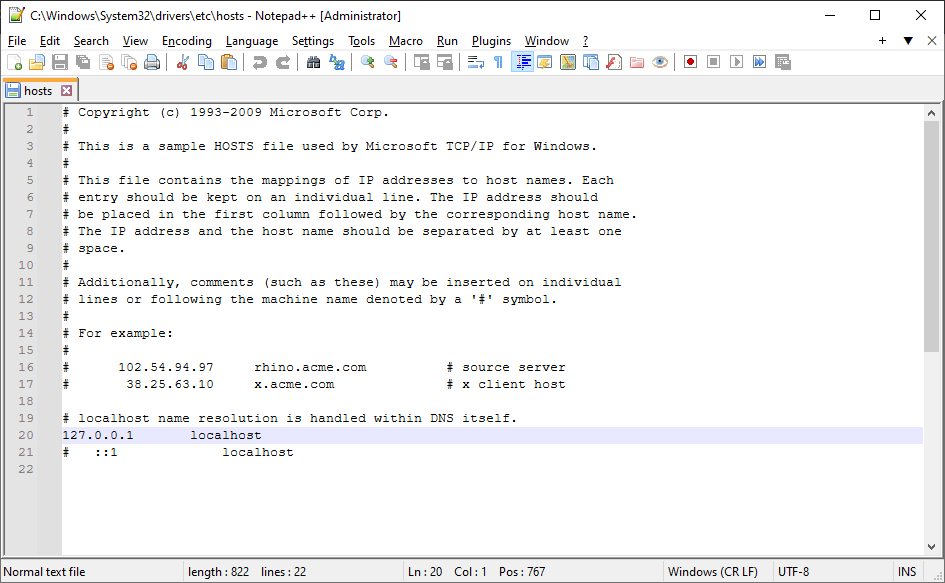
- Verify that
localhostis defined inc:\Windows\System32\drivers\etc\hosts
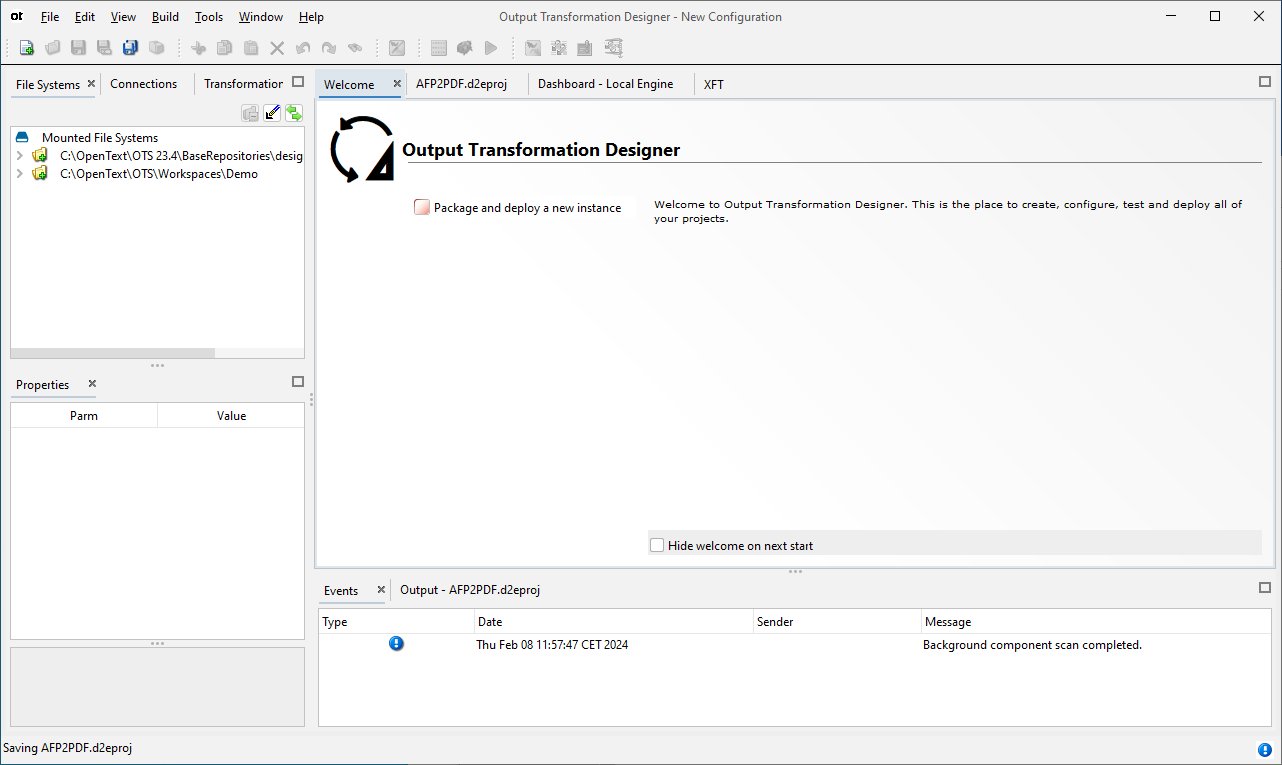
OTS Manager installation (graphic UI)
- Launch Designer app
- Click on
Welcometab - Click on
Package and deploy a new instance
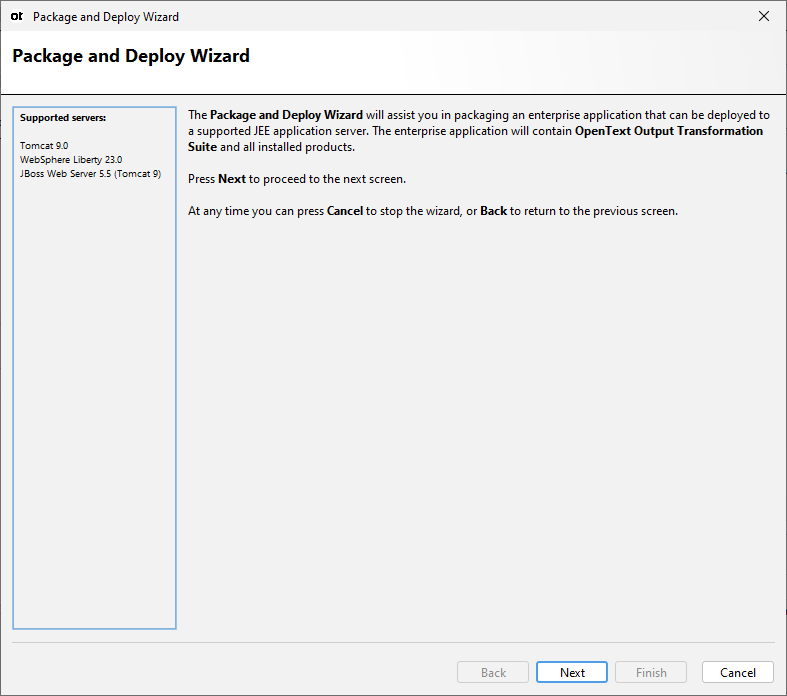
- Click on
Nexton Package and deploy wizard pop-up
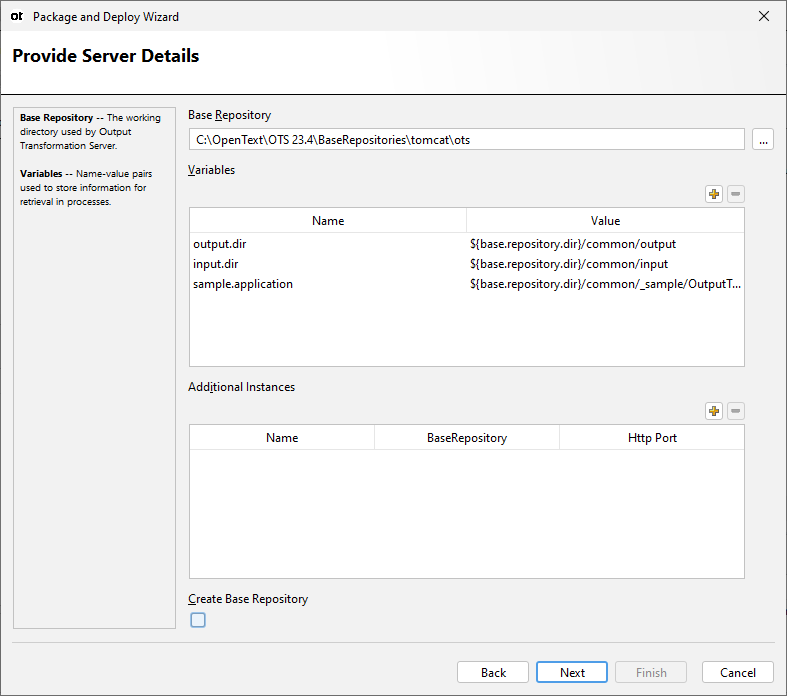
- Set Tomcat root directory in
Server Homefield, e.g., C:\Program Files\apache-tomcat-9.0.85 - Keep the other default values
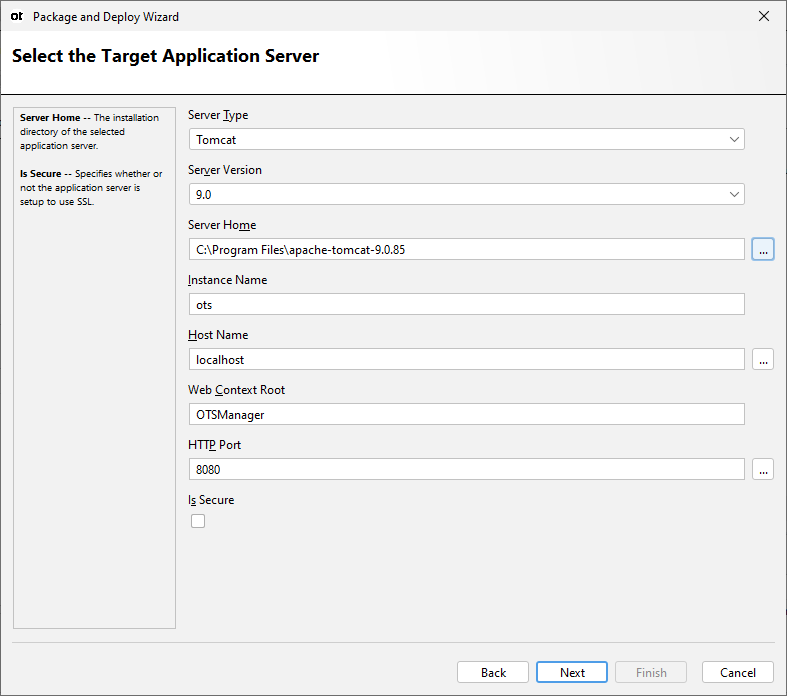
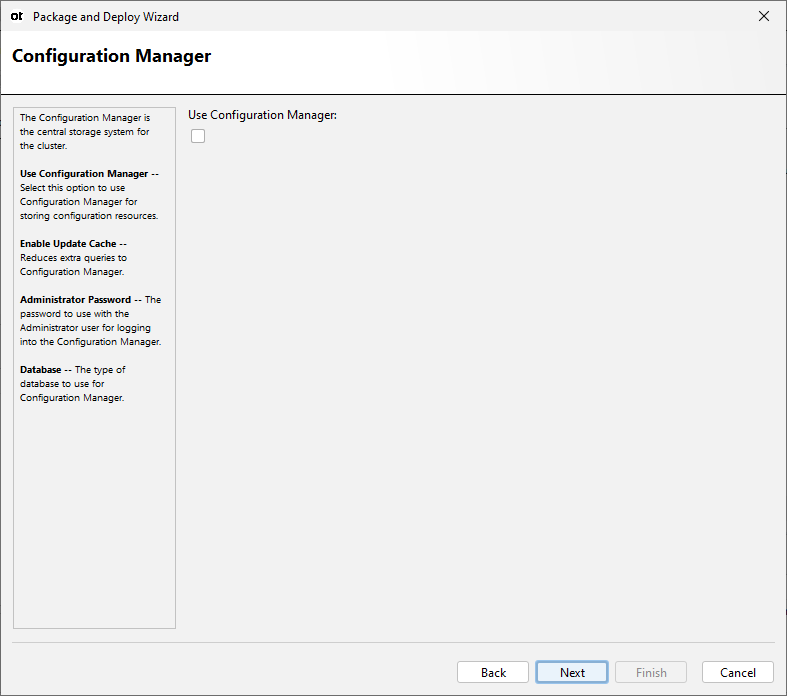
- Click on
Next
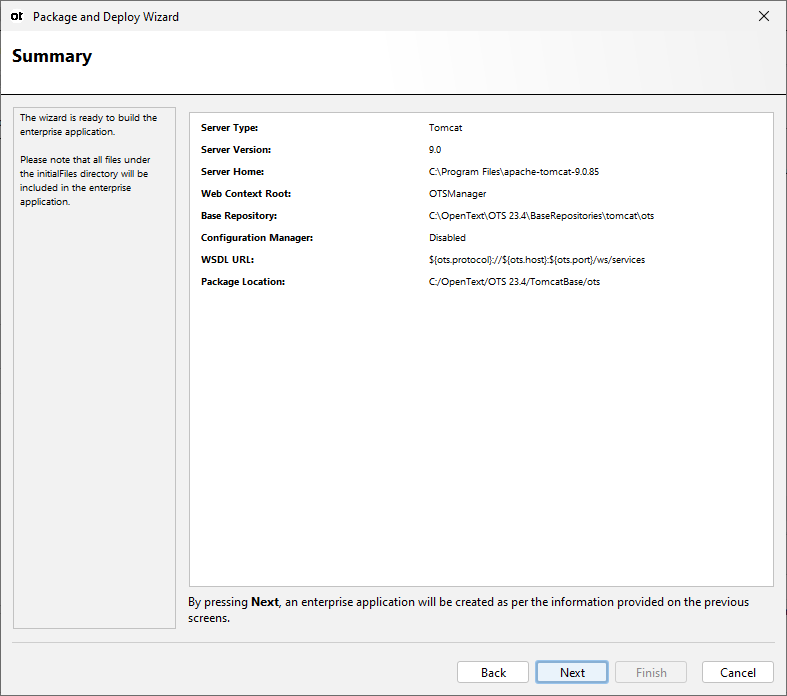
- Click on
Next
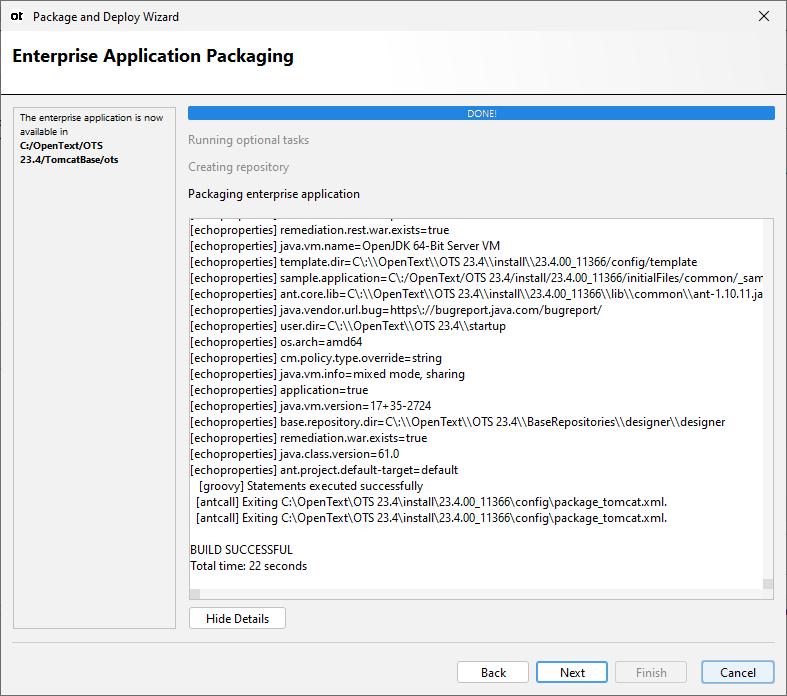
- Click on
Next
- Click on
Next
- Click on
Next
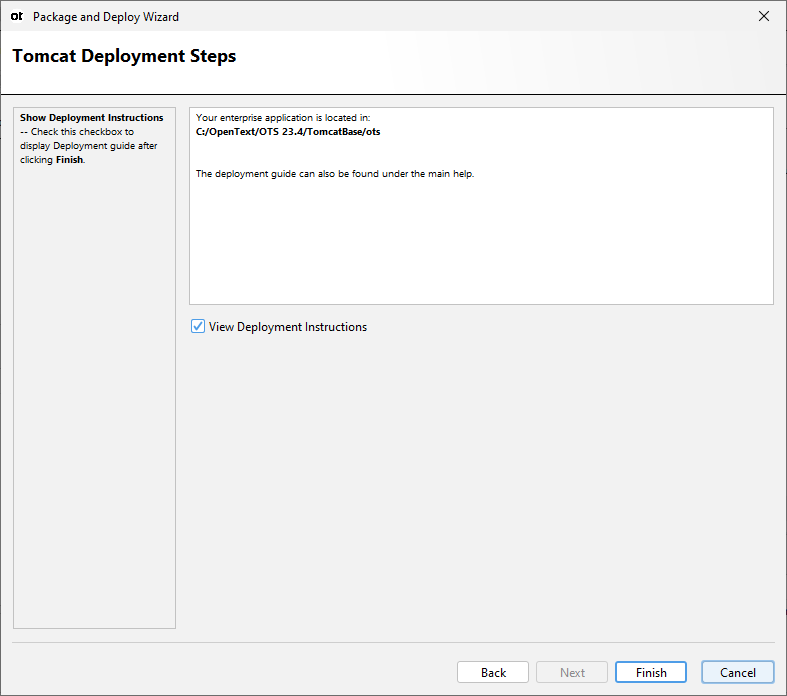
- Click on
Finish
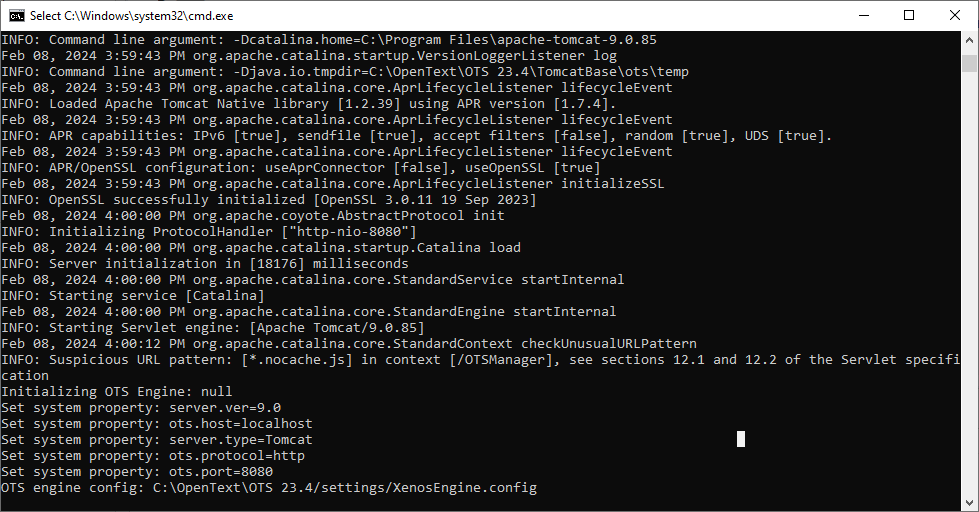
Start OTSManager
- On File Explore browse to
<OTS-HOME>\TomcatBasei.e. C:\OpenText\OTS 24.2\TomcatBase - Double click on
startots.bat

- The script will initialize the OTS engine
NOTE: Don’t close this console
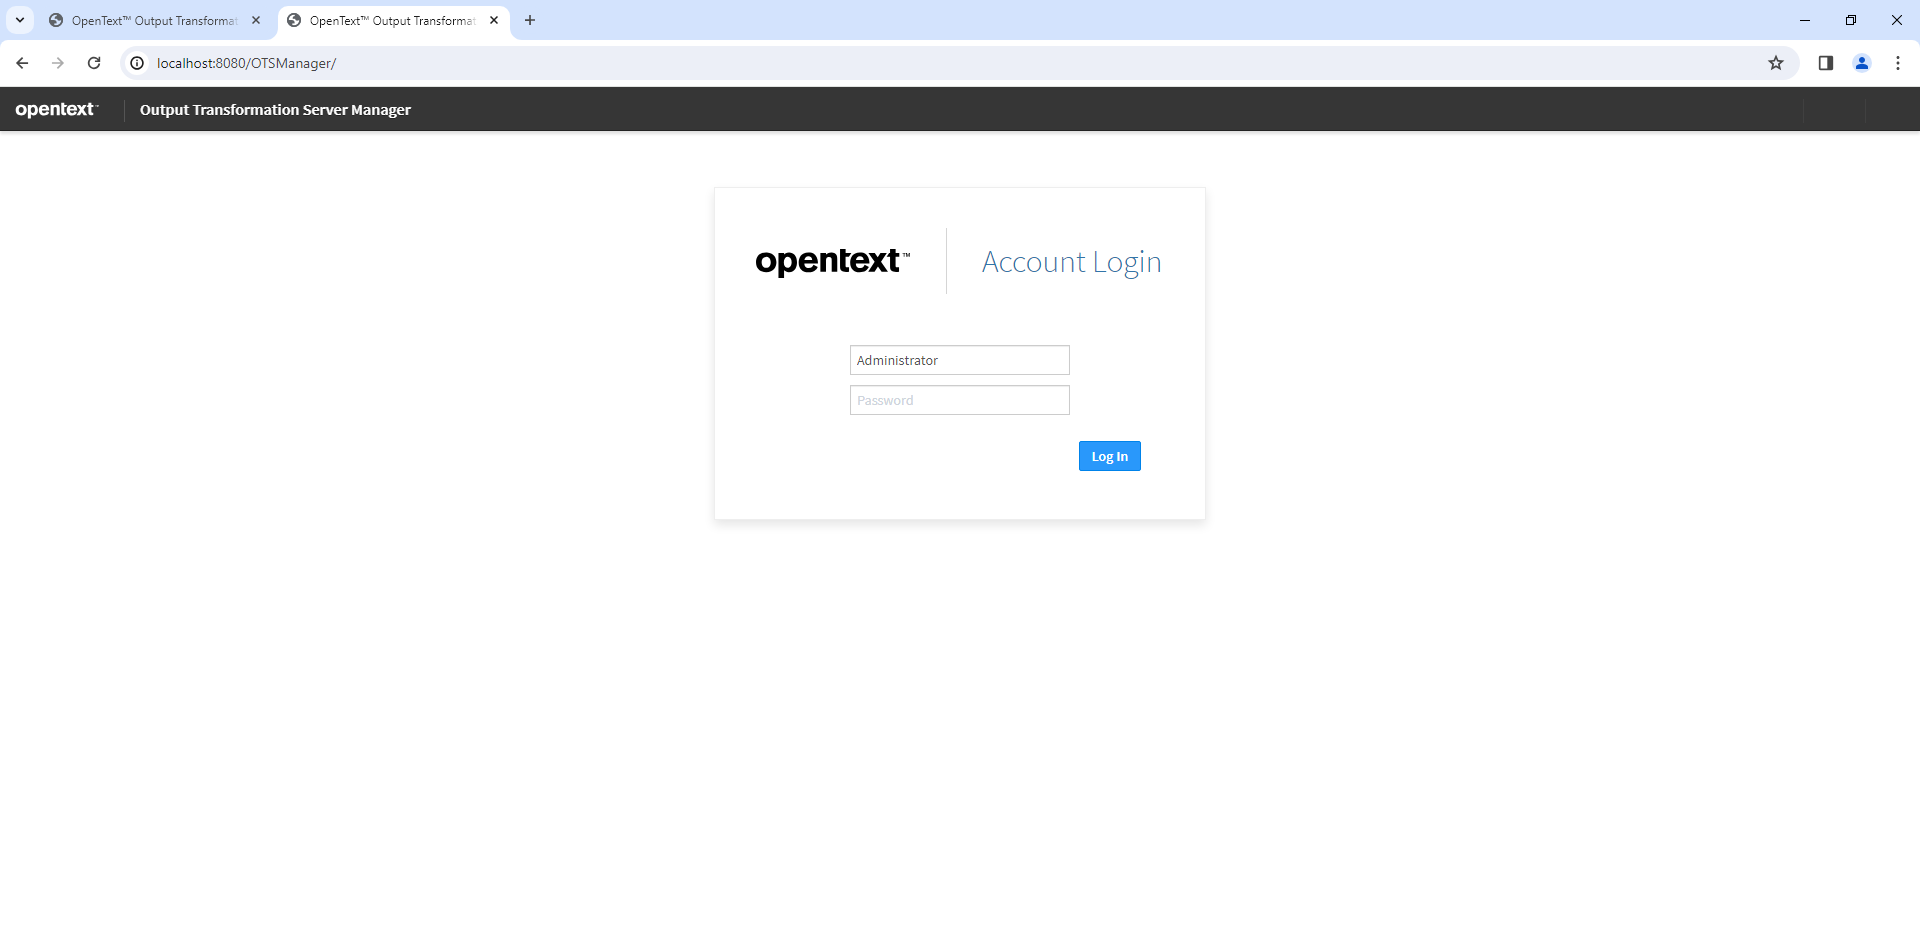
Access to OTS Manager
- Open a web browser and access to http://localhost:8080/OTSManager/
- User: Administrator
- Password:
<no password by default>
NOTE: Set a password for a none local environment
- Click on
Log In
- Click on
FILE SYSTEM > RESOURCES
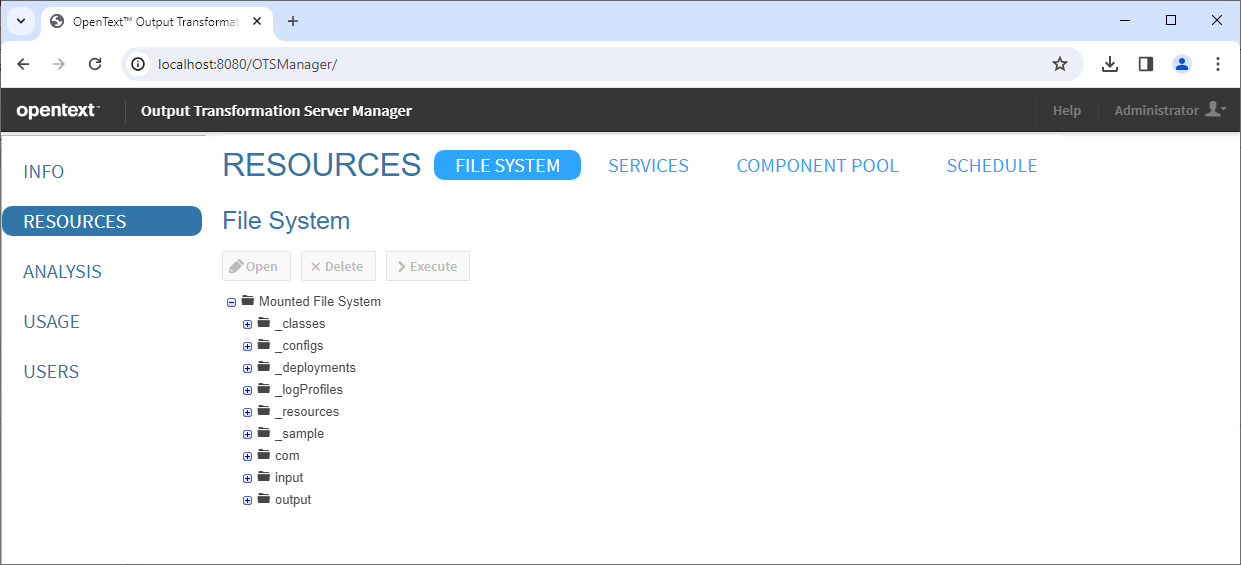
NOTE: We can setup a project in Designer and mount it ot OTS web.
It will be visible on
RESOURCESmenu.