
Sending an SMS using Notifications SOAP API with SOAP UI
Today we’ll learn how to send an SMS using Notifications SOAP API with SOAP UI.
OpenText Notifications is a cloud-based, comprehensive omni-channel messaging platform that increases the effectiveness of message creation and delivery. It is a coordinated solution to deliver essential communications via SMS, voice, email and fax with end-to-end visibility and message control. The solution provides the flexibility and scalability to meet every business need, from individual personalized messages to large-scale broadcast communications.
NOTE: Notifications also provides a REST API, but currently (August 2023), exposes fewer functions than the SOAP API.
JobSubmit function
The JobSubmit function allows one or more documents to be submitted for delivery to one or more destinations. This is one of the most basic, and also one of the most complex, functions available through the Cloud Fax and Notifications API.
We will use it to send an SMS to our mobile phone.
SoapUI
We’ll use SoapUI, an automated testing tool for SOAP and REST APIs, to invoke Notifications SOAP API to send an SMS.
Recomended reading: Getting Started with SoapUI
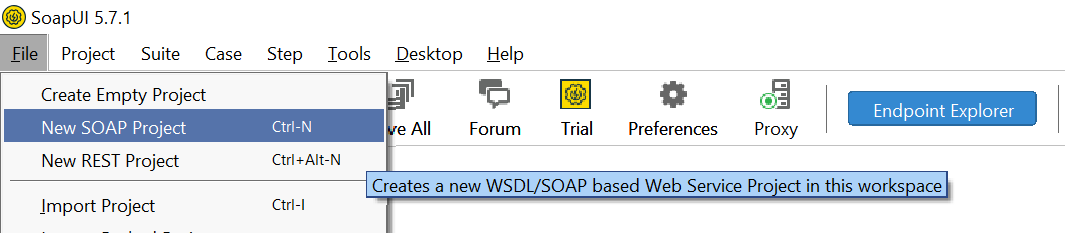
Let’s create a new SOAP project. Just follow these steps:
- Click on
File » New SOAP project
- Provide the required information in the
New SOAP projectpop-up:- Project name: ws.easylink
- Initial WSDL: http://ws.easylink.com/JobSubmit/2011/01?WSDL
- Create Request: Checked
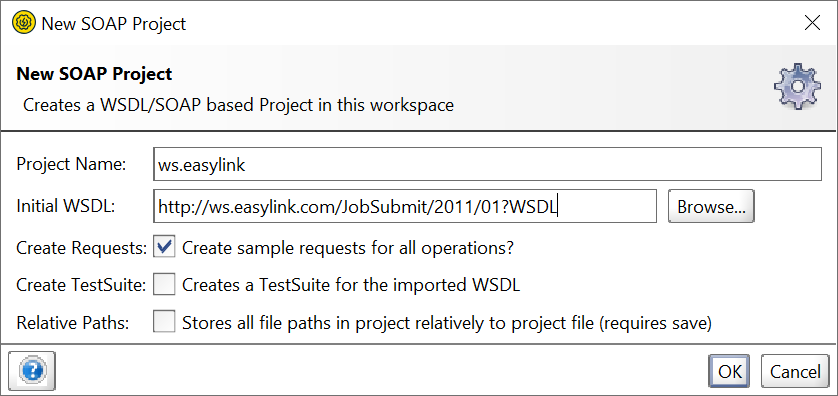
- Click on
OKbutton
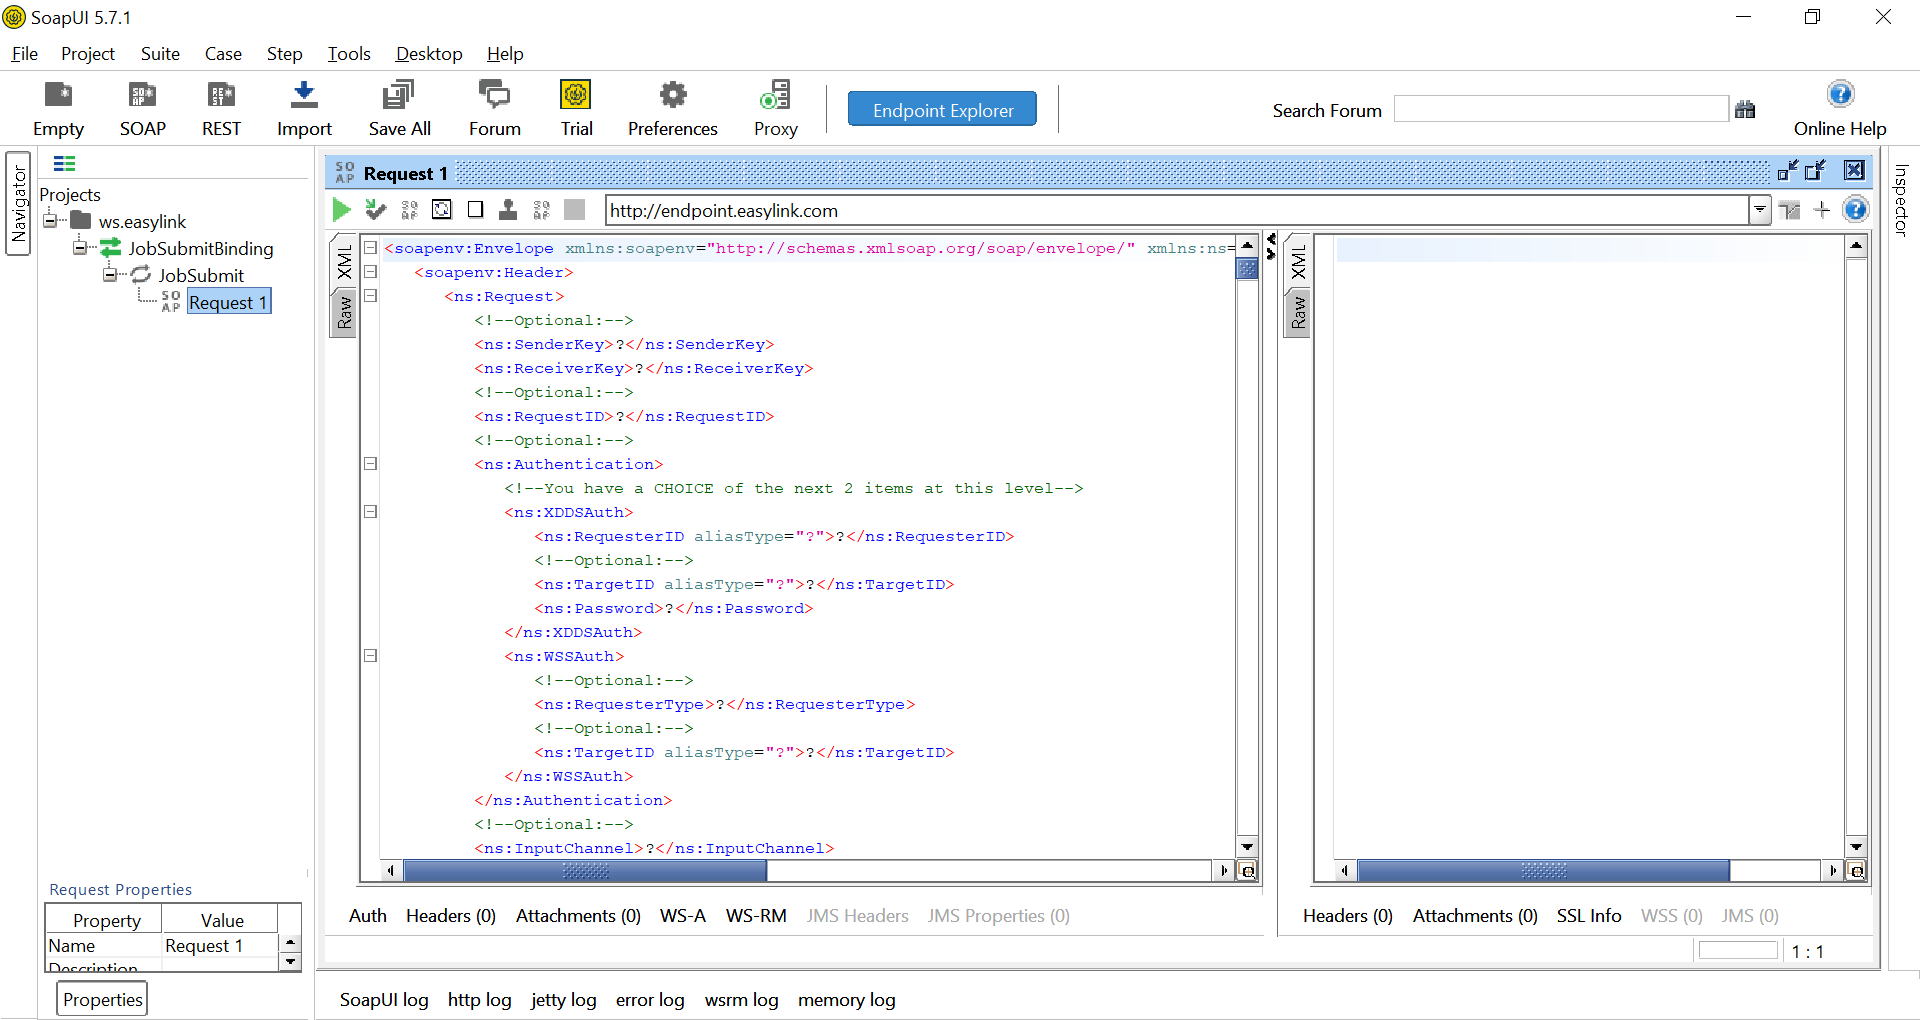
A default request is created based on the request definition given in the WSDL:
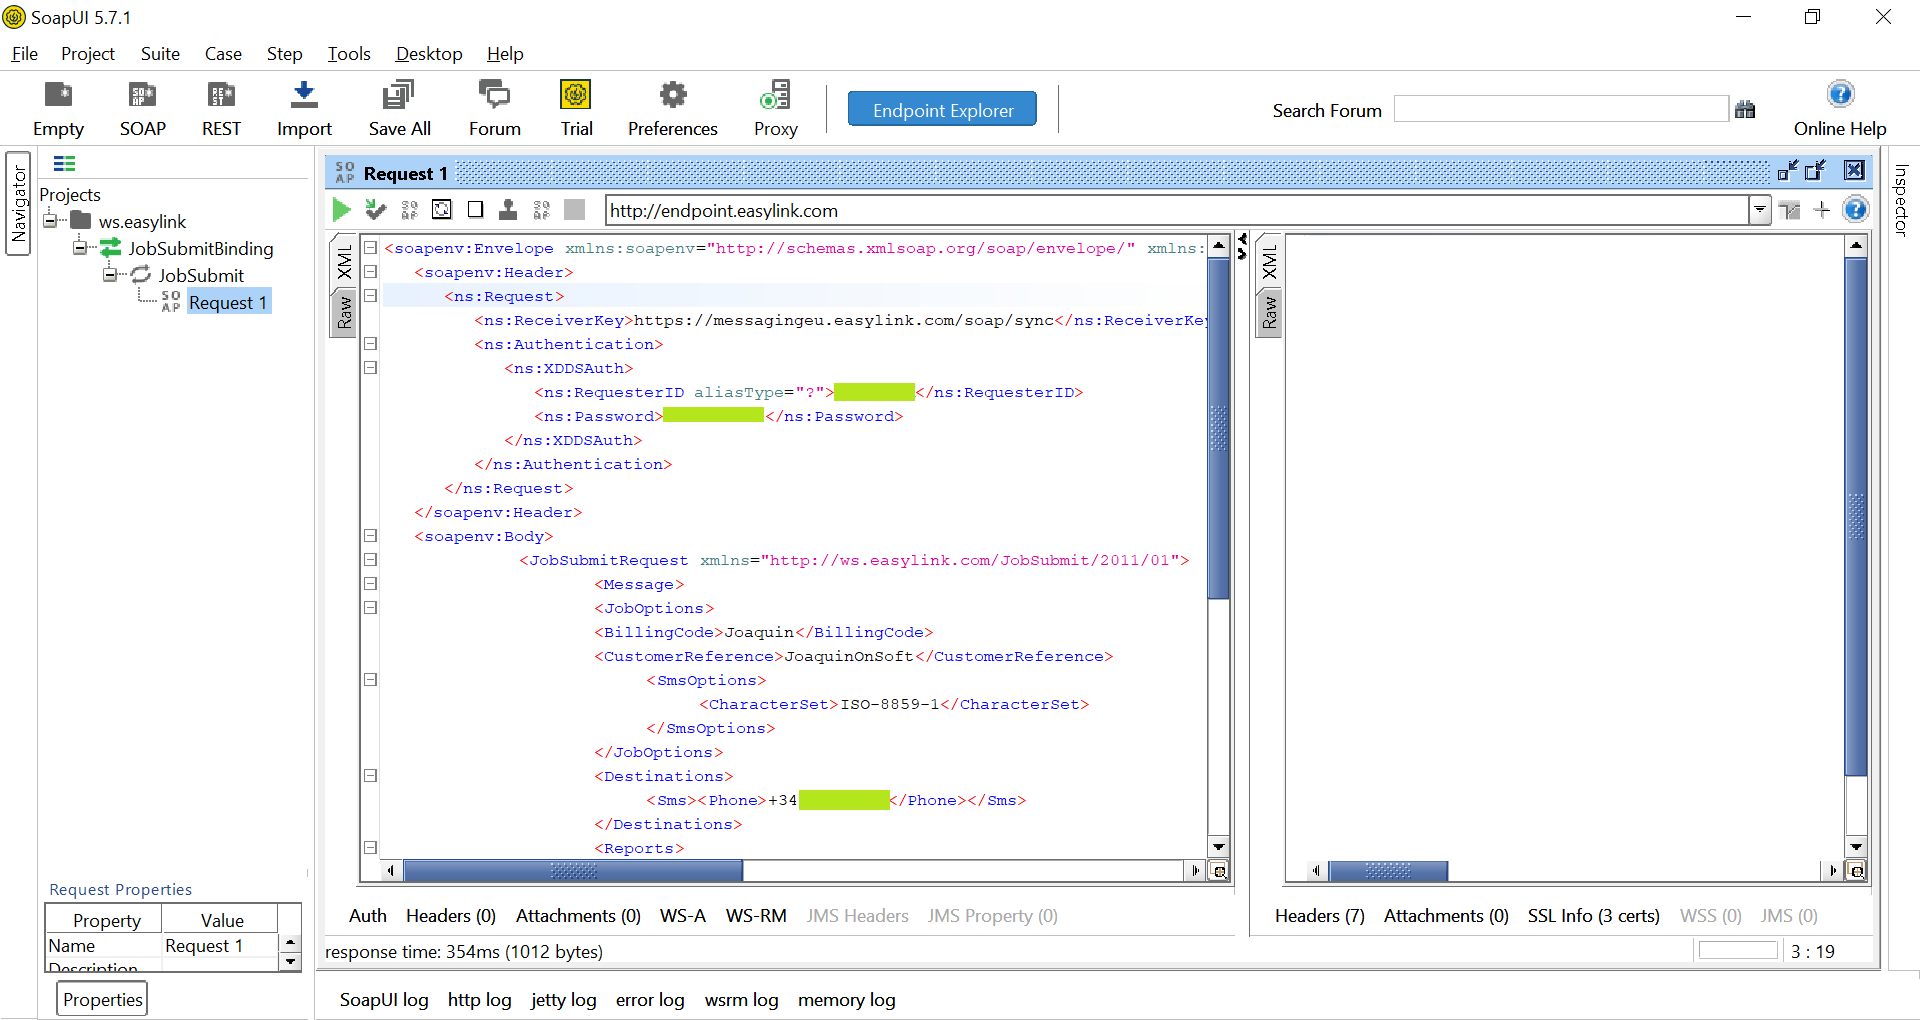
 We must modify the XML request to provide the required information. Our request will look like this:
<soapenv:Envelope xmlns:soapenv="http://schemas.xmlsoap.org/soap/envelope/" xmlns:ns="http://ws.easylink.com/RequestResponse/2011/01" xmlns:ns1="http://ws.easylink.com/JobSubmit/2011/01">
   <soapenv:Header>
      <ns:Request>
         <ns:ReceiverKey>https://messagingeu.easylink.com/soap/sync</ns:ReceiverKey>
         <ns:Authentication>
            <ns:XDDSAuth>
               <ns:RequesterID aliasType="?">USER</ns:RequesterID>
               <ns:Password>PASSWORD</ns:Password>
            </ns:XDDSAuth>
         </ns:Authentication>
      </ns:Request>
   </soapenv:Header>
   <soapenv:Body>
		   <JobSubmitRequest xmlns="http://ws.easylink.com/JobSubmit/2011/01">
				<Message>
				<JobOptions>
				<BillingCode>Joaquin</BillingCode>
				<CustomerReference>JoaquinOnSoft</CustomerReference>
					<SmsOptions>
						<CharacterSet>ISO-8859-1</CharacterSet>
					</SmsOptions>
				</JobOptions>
				<Destinations>
					<Sms><Phone>+34666999999</Phone></Sms>
				</Destinations>
				<Reports>
					<DeliveryReport>
					<DeliveryReportType>none</DeliveryReportType>
					</DeliveryReport>
				</Reports>
				<Contents>
					<Part>
						<Document>
								<DocType>text</DocType>
								<DocData format="text">Sending an SMS using Notifications SOAP API with SOAP UI</DocData>
								<CharacterSet>ISO-8859-1</CharacterSet>
						</Document>
						<Treatment>body</Treatment>
					</Part>
				</Contents>
				</Message>
		</JobSubmitRequest>
   </soapenv:Body>
</soapenv:Envelope>
NOTE: You must provide your own user (tag
ns:RequesterID) and password (tagns:Password) to complete the authentication. Update thePhonetag with your mobile phone number to receive the SMS andDocDatatag with the desired text for your SMS.
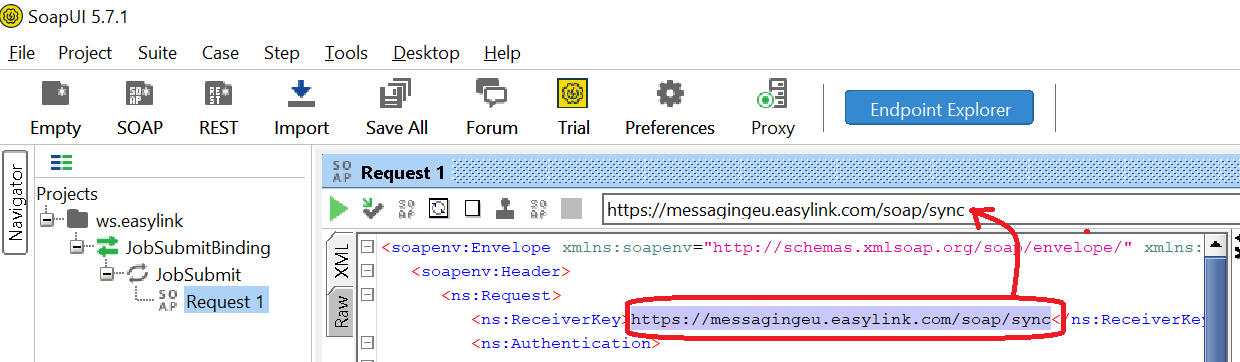
- Copy the URL in the
ns:ReceiverKeytag
https://messagingeu.easylink.com/soap/sync
- Paste the URL in the address text box
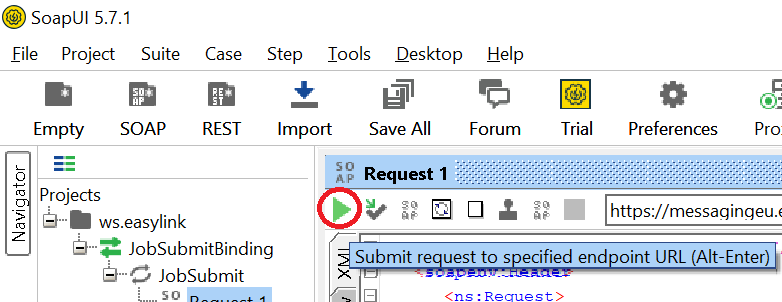
- Click on
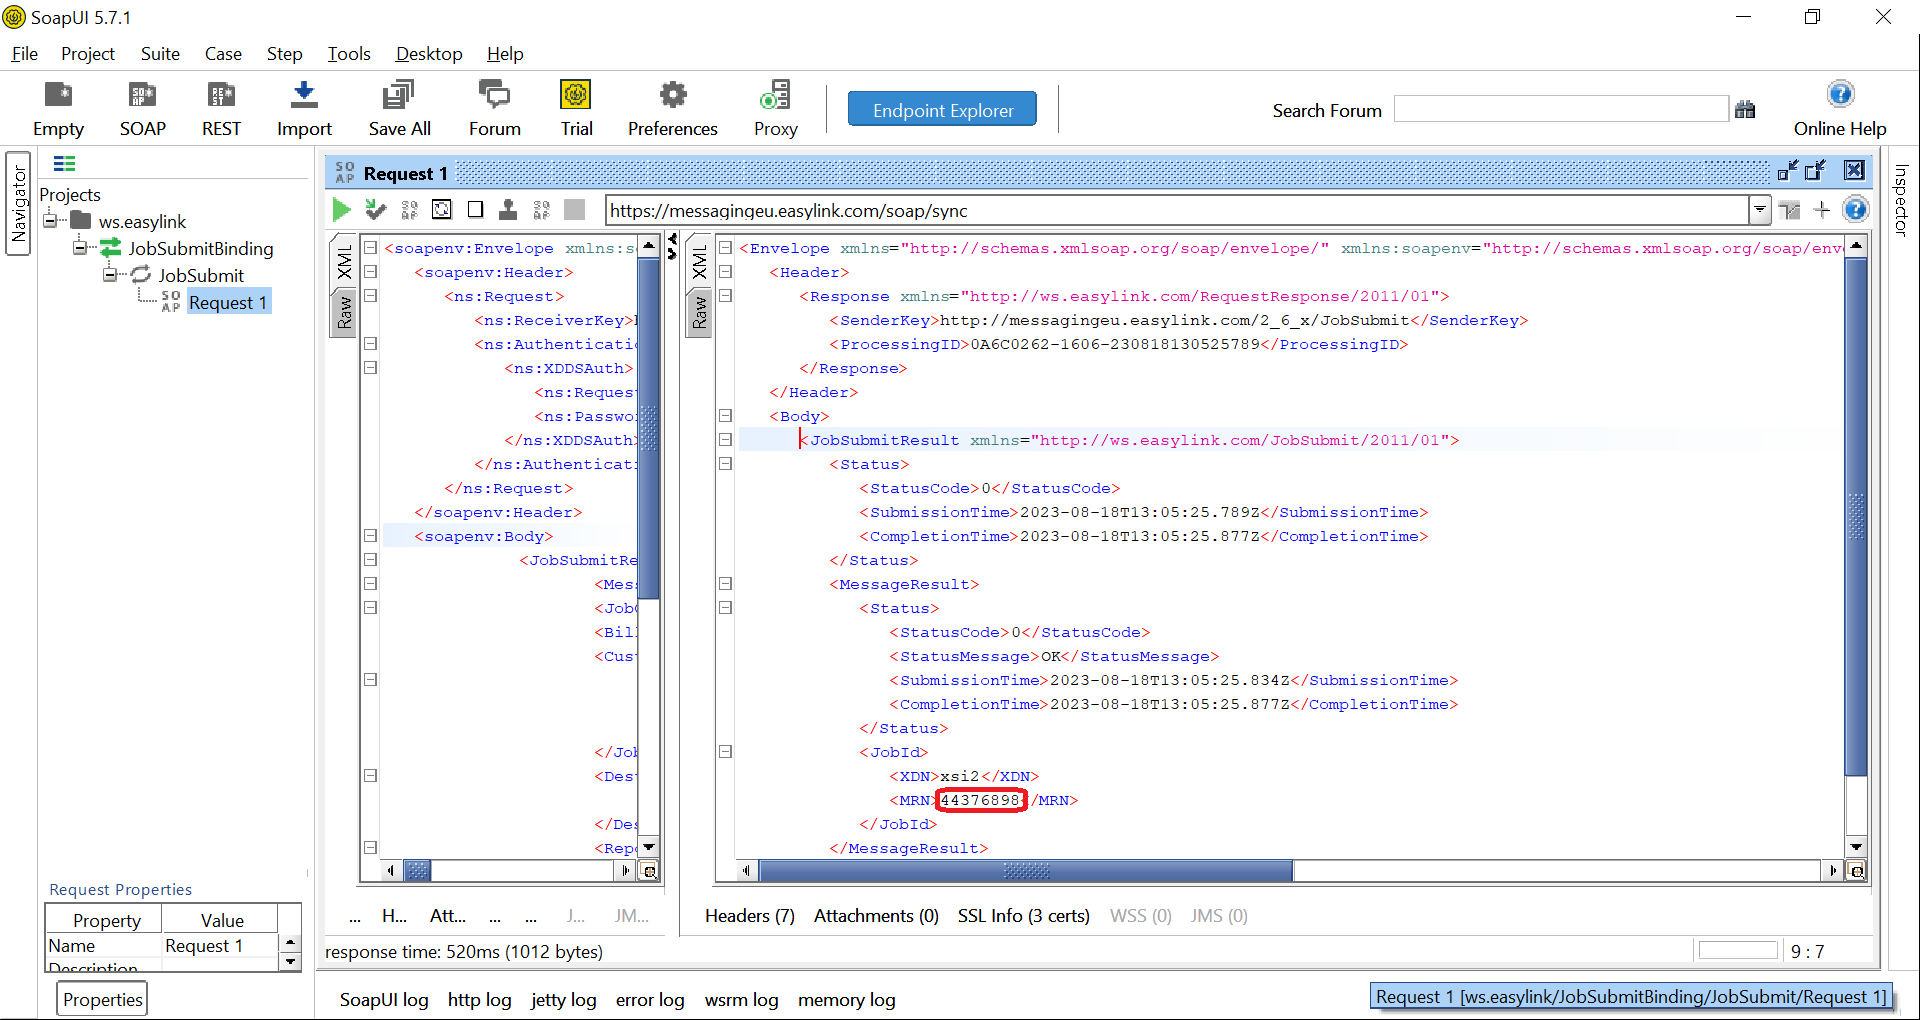
Submitbutton in the top-left menu
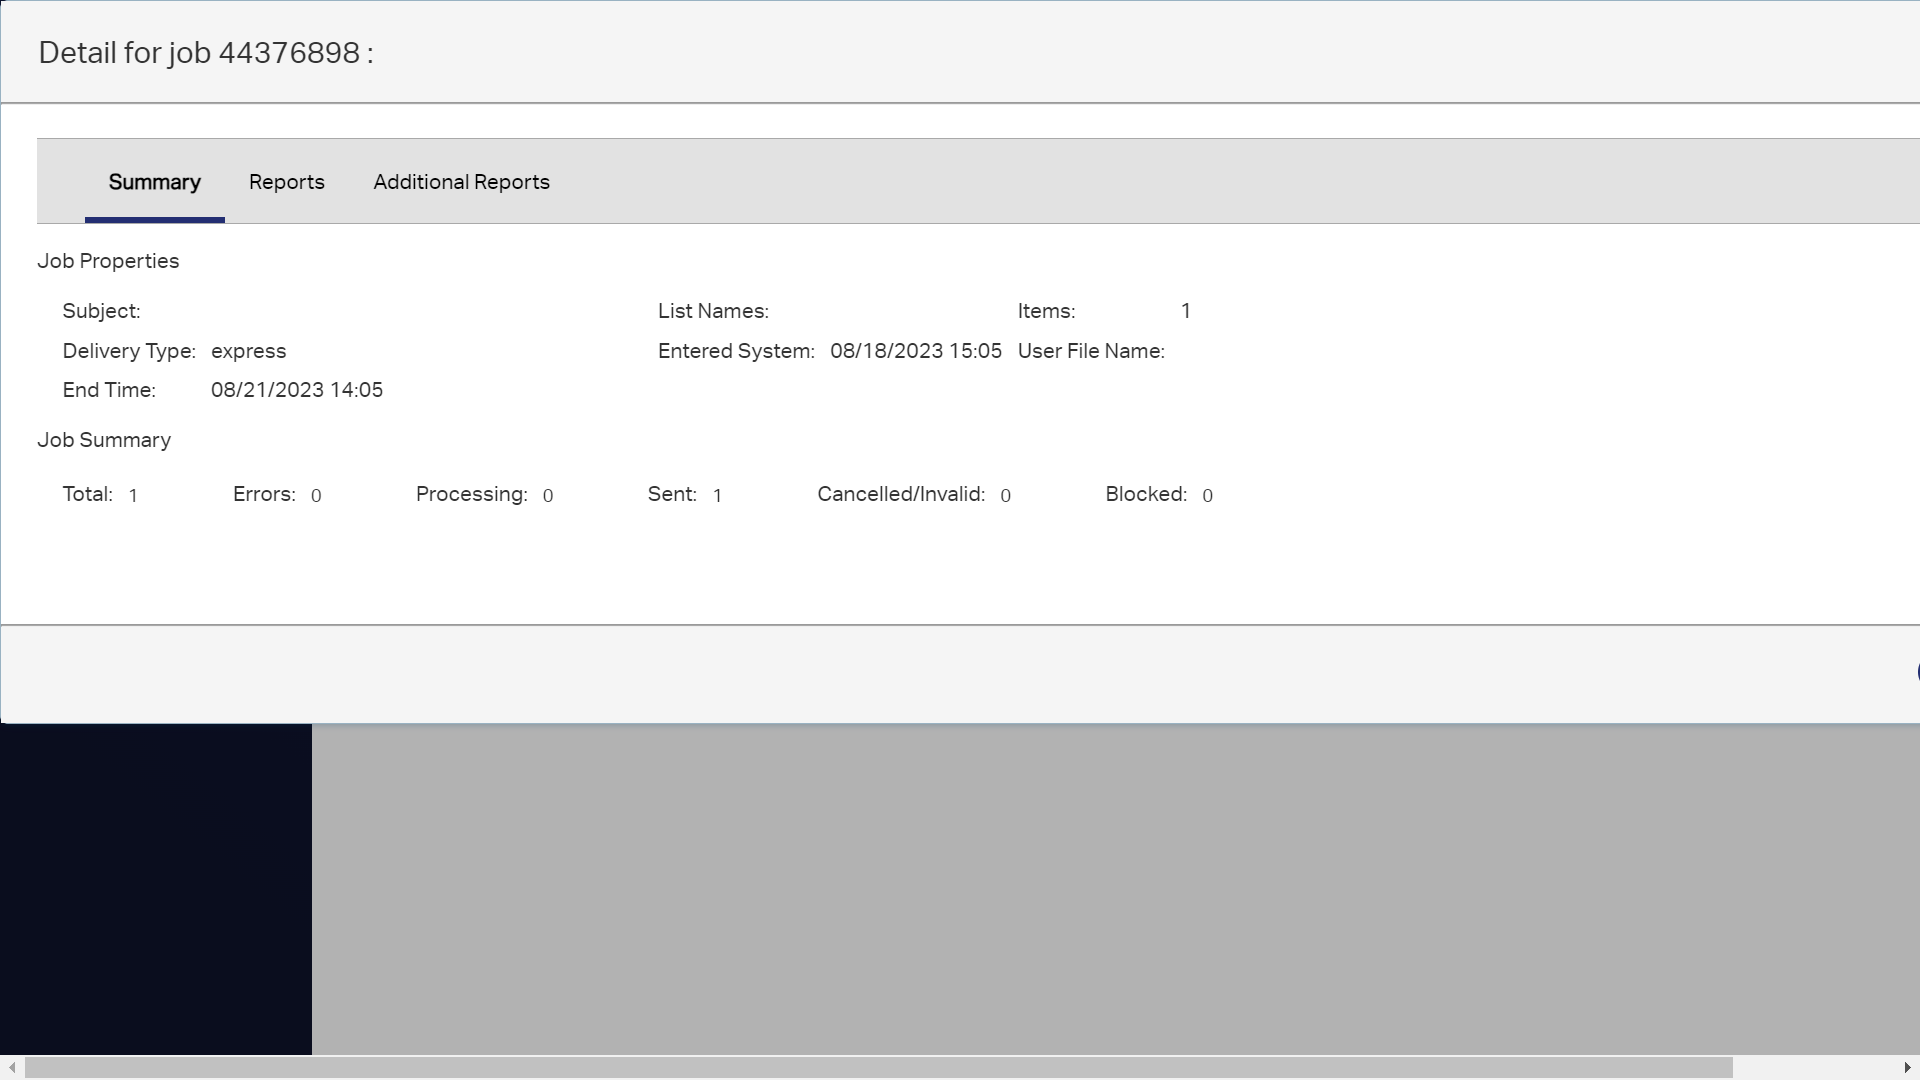
We can see the response in the left-hand side. The tag MRN includes the job identifier, in our example 44376898.
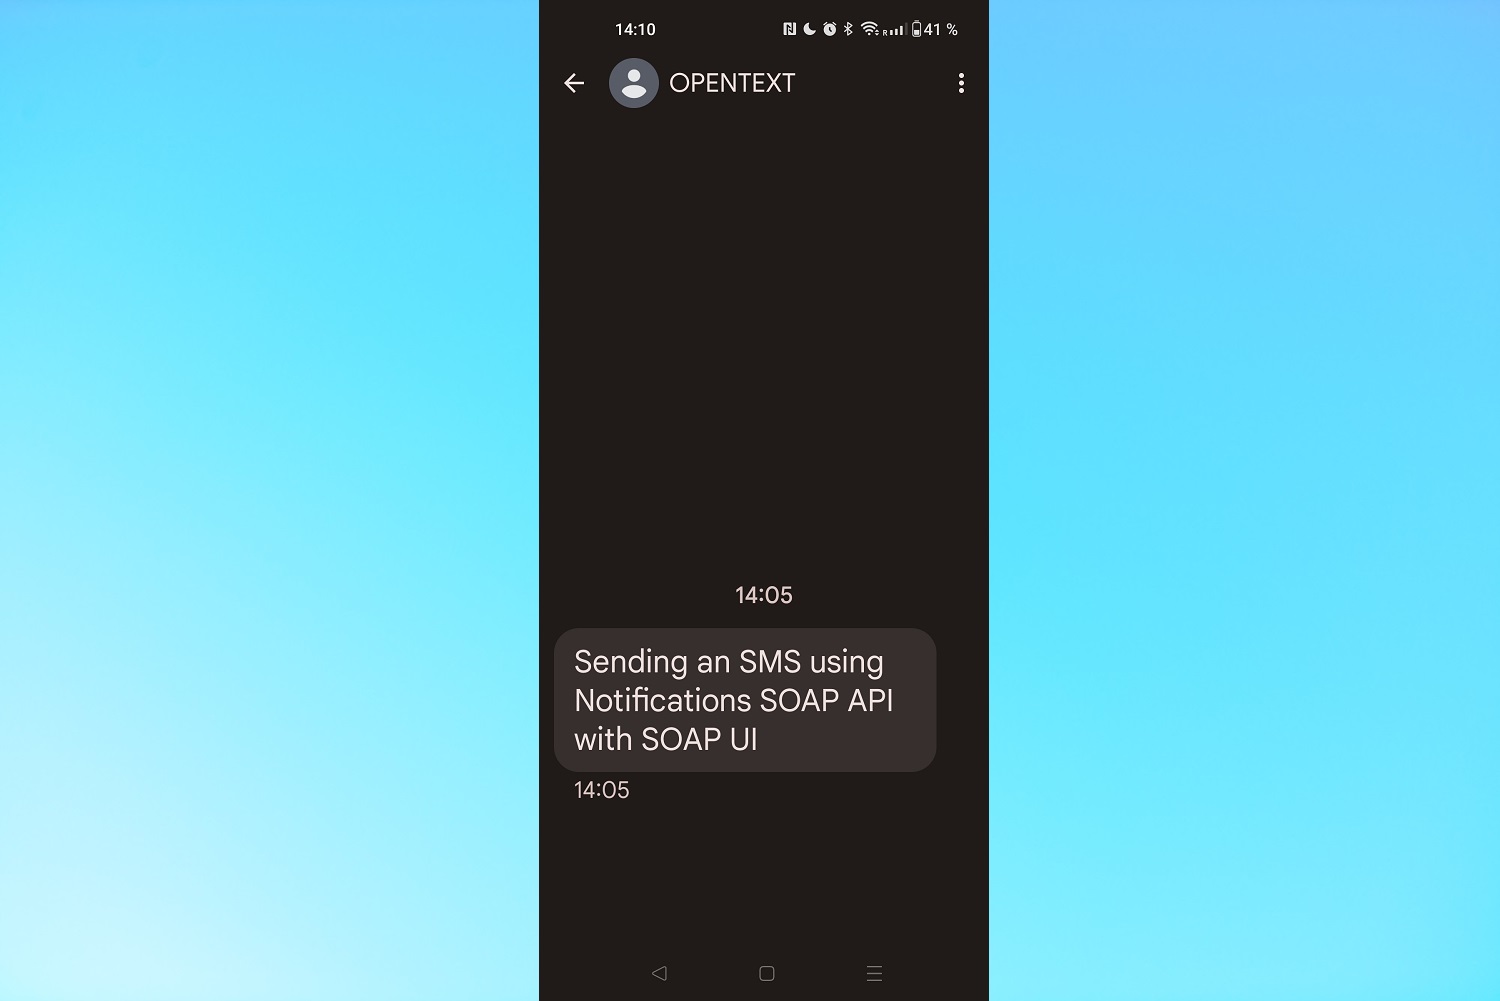
SMS in our mobile phone
After a few seconds the SMS is received in our mobile phone.

Jobs status in MyPortal
We can check the status of our job in MyPortal, the Notifications web interface.
Just select Jobs » Check Job Status on the top menu.

If you click on the row with the same Job Id that was returned in our call you’ll see a more detailed information.